
Step 1: Go to Avery Design & Print Online.
Avery Design & Print Online is a free software program on avery.ca. There’s no downloading required, and it’s available anywhere you have internet access.
Step 2: Enter the product you’ll be using.
Enter the five-digit Avery product number and choose your design theme.
Step 3: Choose and customize your design theme.
Using the drop-down menu on the left, customize your labels with text, images, shapes, and more.
Step 4: Add or edit a barcode.
Add a barcode to your design by clicking “Add Barcode” in the “QR and Barcode” menu or edit your barcode by clicking “Edit Barcode.”
Step 5: Choose data input method.
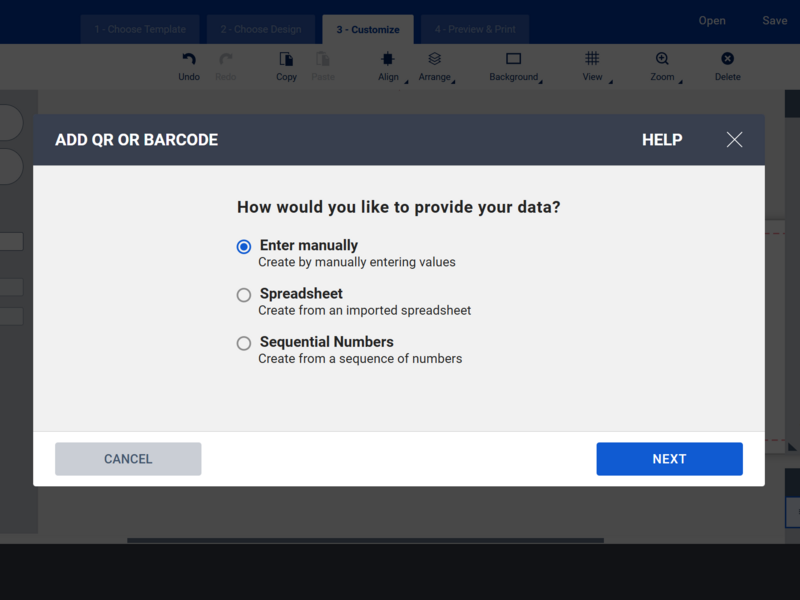 Select the way in which you would like to provide your QR Code or Barcode data:
- If using Manual Entry - Select your code format , such as “QRCode.” Then choose your code type: text, email, URL, phone number, vCard, or MeCard. Next, fill in the window below with the appropriate content you would like displayed. When you’re done, click “Finish.”
- If using Spreadsheet - Upload the desired spreadsheet from your computer, select a saved spreadsheet from your account, or import it from your Google Drive.
- If using Sequential Numbers - Select your type (numbers or letters). Next, enter the start values, end values, increments, and label prefix and suffix information, if required.
Step 6: Create your barcode or QR code.
Add the barcode or QR code to your design. Then, adjust the position and sizing to suit your label or card. Remember to select the Edit All button to adjust your code in the same place for all labels/cards, or the Edit All button to make changes to each individual label/card.Step 7: Test your barcode.
Using a barcode scanner or your mobile phone, point it at the barcode or QR code on your screen to make sure your code will work appropriately.
Step 7: Preview and print.
Click the green “Preview & Print” button located in the upper right-hand corner of your screen. A preview sheet of your barcode labels will appear. Click the green “Print” button in the right-hand corner when you’re ready to print your labels.


Validate your login