

Select an option
Toggle Nav


Search
How to Format an Avery Template for Microsoft Word
Double click the Avery Word Template file you downloaded and saved to your computer. If the template looks like a blank page, select Table Tools > Layout > Show Gridlines to view the template layout.
Once the file is open, type your information into the template.
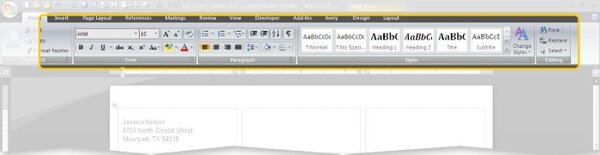
Highlight the text you entered and use the tools in Microsoft® Word to format the text.
Click the Insert tab in the Ribbon Toolbar to insert your own image, clip art, shapes and more.
Select your image in the template and click the Page Layout tab in the Ribbon Toolbar. Then click Text Wrapping and select In Front of Text in the drop down list.
How to create a sheet of all the same labels:
Blank Templates:
1. Insert your information on the 1st label.
2. Highlight all the content in the first label, right-click and select Copy.
3. Position the cursor in the next label, right-click and select Paste.
4. Continue with step 3 until all labels are filled with your information.
Pre-Designed Templates:
1. Use the Microsoft Word's Find and Replace formatting tool to replace all the pre-designed template text in each label with your own information.
How to add a page to your label sheet:
1. Position the cursor on the outside of the last label on the bottom right of the page and press Enter.
How to design the back side of a two-sided Avery product:
1. To design the back side of a two-sided Avery product, you will need to open the same template and save it as a separate project.
When you are finished formatting your template, click the Save As icon on the toolbar. Name your Microsoft® Word template and click Save. Be sure to remember where you saved your project.

Validate your login