Avery Custom Printed Business Cards and Postcards are about to become a favourite hack for jewellery maker’s all across Canada!
Calling all handmade jewellery and accessories sellers, and anyone thinking about starting a beauty and accessories small business in 2022! There’s an easy way to showcase your earrings, necklaces, keychains, hair scrunchies, press on nails and more using Avery Custom Printed Business Cards and Postcards.
Avery Custom Printed Business Cards and Postcards make it easy for you to create stunning, branded jewellery display cards whether you sell online, at craft shows or in a brick and mortar location. More than just a basic merchandising tool, jewellery display cards are an essential part of your business’ ability to stand out from the crowd. Whether large or small, these cards frame your items and present them to shoppers in an attention-getting way. That’s why it’s important to choose jewellery display cards that suit your brand and creatively highlight the different pieces in your collection. In this blog, we’ll show you how to create the perfect frame for your jewellery and accessories using Avery Custom Printed Cards.
Use a Business Card to Make Small Jewellery Display Cards
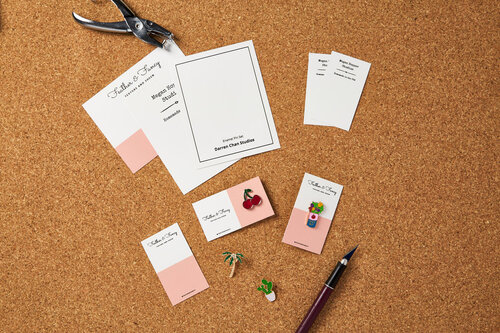
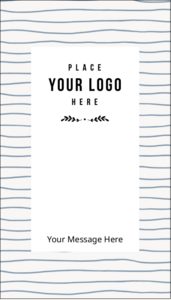
Frame smaller jewellery pieces using printable business cards, either vertically at (3 ½” x 2”) or horizontally (2” x 3 ½”). This sizing offers the perfect highlight for stud earrings, broaches and pins, cufflinks and rings, while also leaving perimeter space for branding, design, and some additional information.
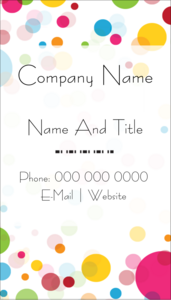
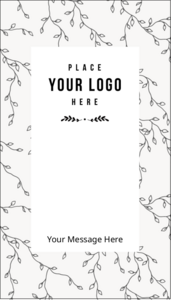
Here are some looks available on Avery.ca for small jewellery cards:
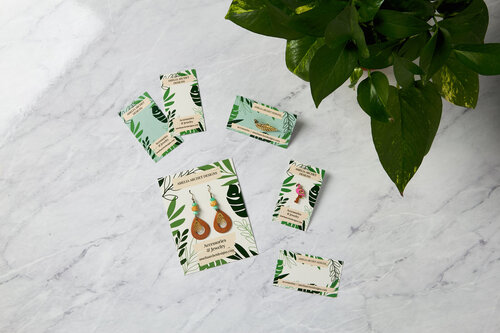
Use Postcards to Make Larger Jewellery Display Cards
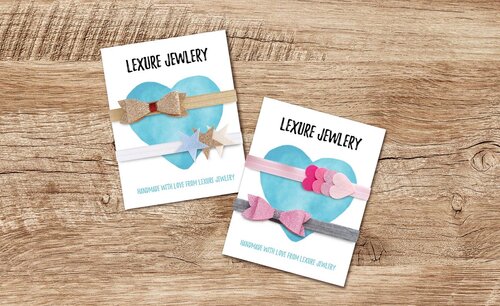
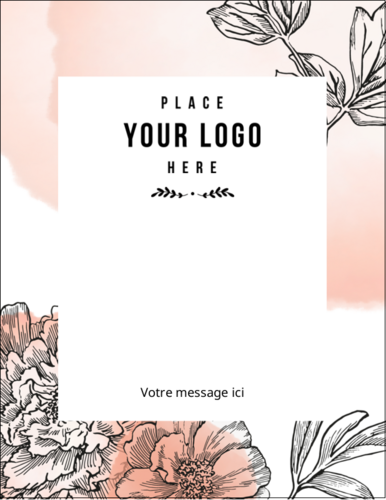
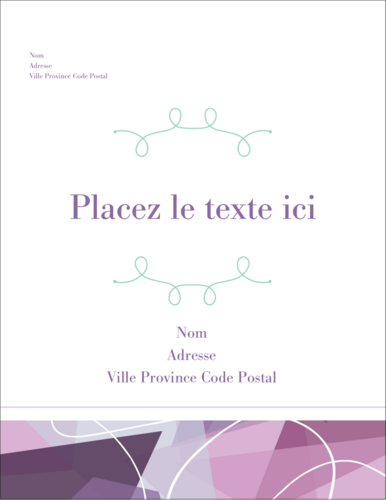
Printable 5 ½” x 4 ¼” or 4 ¼” x 5 ½” postcards make the perfect backdrop for displaying larger jewellery pieces and other accessories. Use printable postcards either horizontally or vertically to show off your larger earing, necklaces, bracelets, and bigger broaches. For accessories, use these cards to mount groupings of scrunchies, hair bows and clips. In fact, they’re also the perfect size to use as press on nail display cards!
Here are some looks available on Avery.ca for large jewellery cards:
Prepping Your Cards after Printing
Once your cards have been designed and printed, you’ll need to do a bit of prep to get them ready to receive your jewellery pieces. To complete your cards you’ll need a pencil, 1/16 - inch hole punch, a small hobby knife, ruler, a pack of Avery Glossy Clear Round Labels (For small cards) and a pack of Avery Glossy Clear Oval Labels (for larger cards).
Earring Cards
Place your earrings or pins on your finished display card and lightly mark with a pencil where to punch your holes. Make sure to consider the highest point of the earring or pin backings to ensure they will lay where desired on your display card. Your holes will need to be in different areas for hanging earring cards as opposed to stud earrings or pins.
Ring Card
Punch two holes in the approximate width of your ring. To do this, we recommend creating the hole punches slightly closer than the max-width of your ring. This will allow the ring to hang slightly forward on the display card and minimize the risk of creating punches that are too far apart. Try practicing on a few blank cards to get a precise measurement before using your custom display cards.
Once you’ve made your punches, use a ruler and a hobby knife (or other sharp blade) to cut a single line connecting the two punches at the middle. Next, you simply slip your ring into your cuts in the ring card, and secure your ring by adhering it to the back of the card with an Avery 1” Clear Glossy Round label. These labels are printable, so you can brand them before applying for extra appeal.
Necklace Card
For necklace cards, create punches on both edges of the display card, ¼” – ½” from each edge. Once your hole punches are in place, use a ruler and hobby knife or other blade or box cutter to cut a slit from the hole to the edge of your card. This is where you slide your necklace chain into the card.
Once your necklace has been mounted on the card, you can wrap up any extra chain and secure it to the back of the card with an Avery Clear Glossy Oval label.
Ready to learn more about creating custom jewellery display cards for your business? Start here!
For more news, tips, and information about upcoming promotions, be sure to follow Avery Products Canada on Facebook, Instagram, and Pinterest or sign up for our newsletter (see below)!


Validate your login